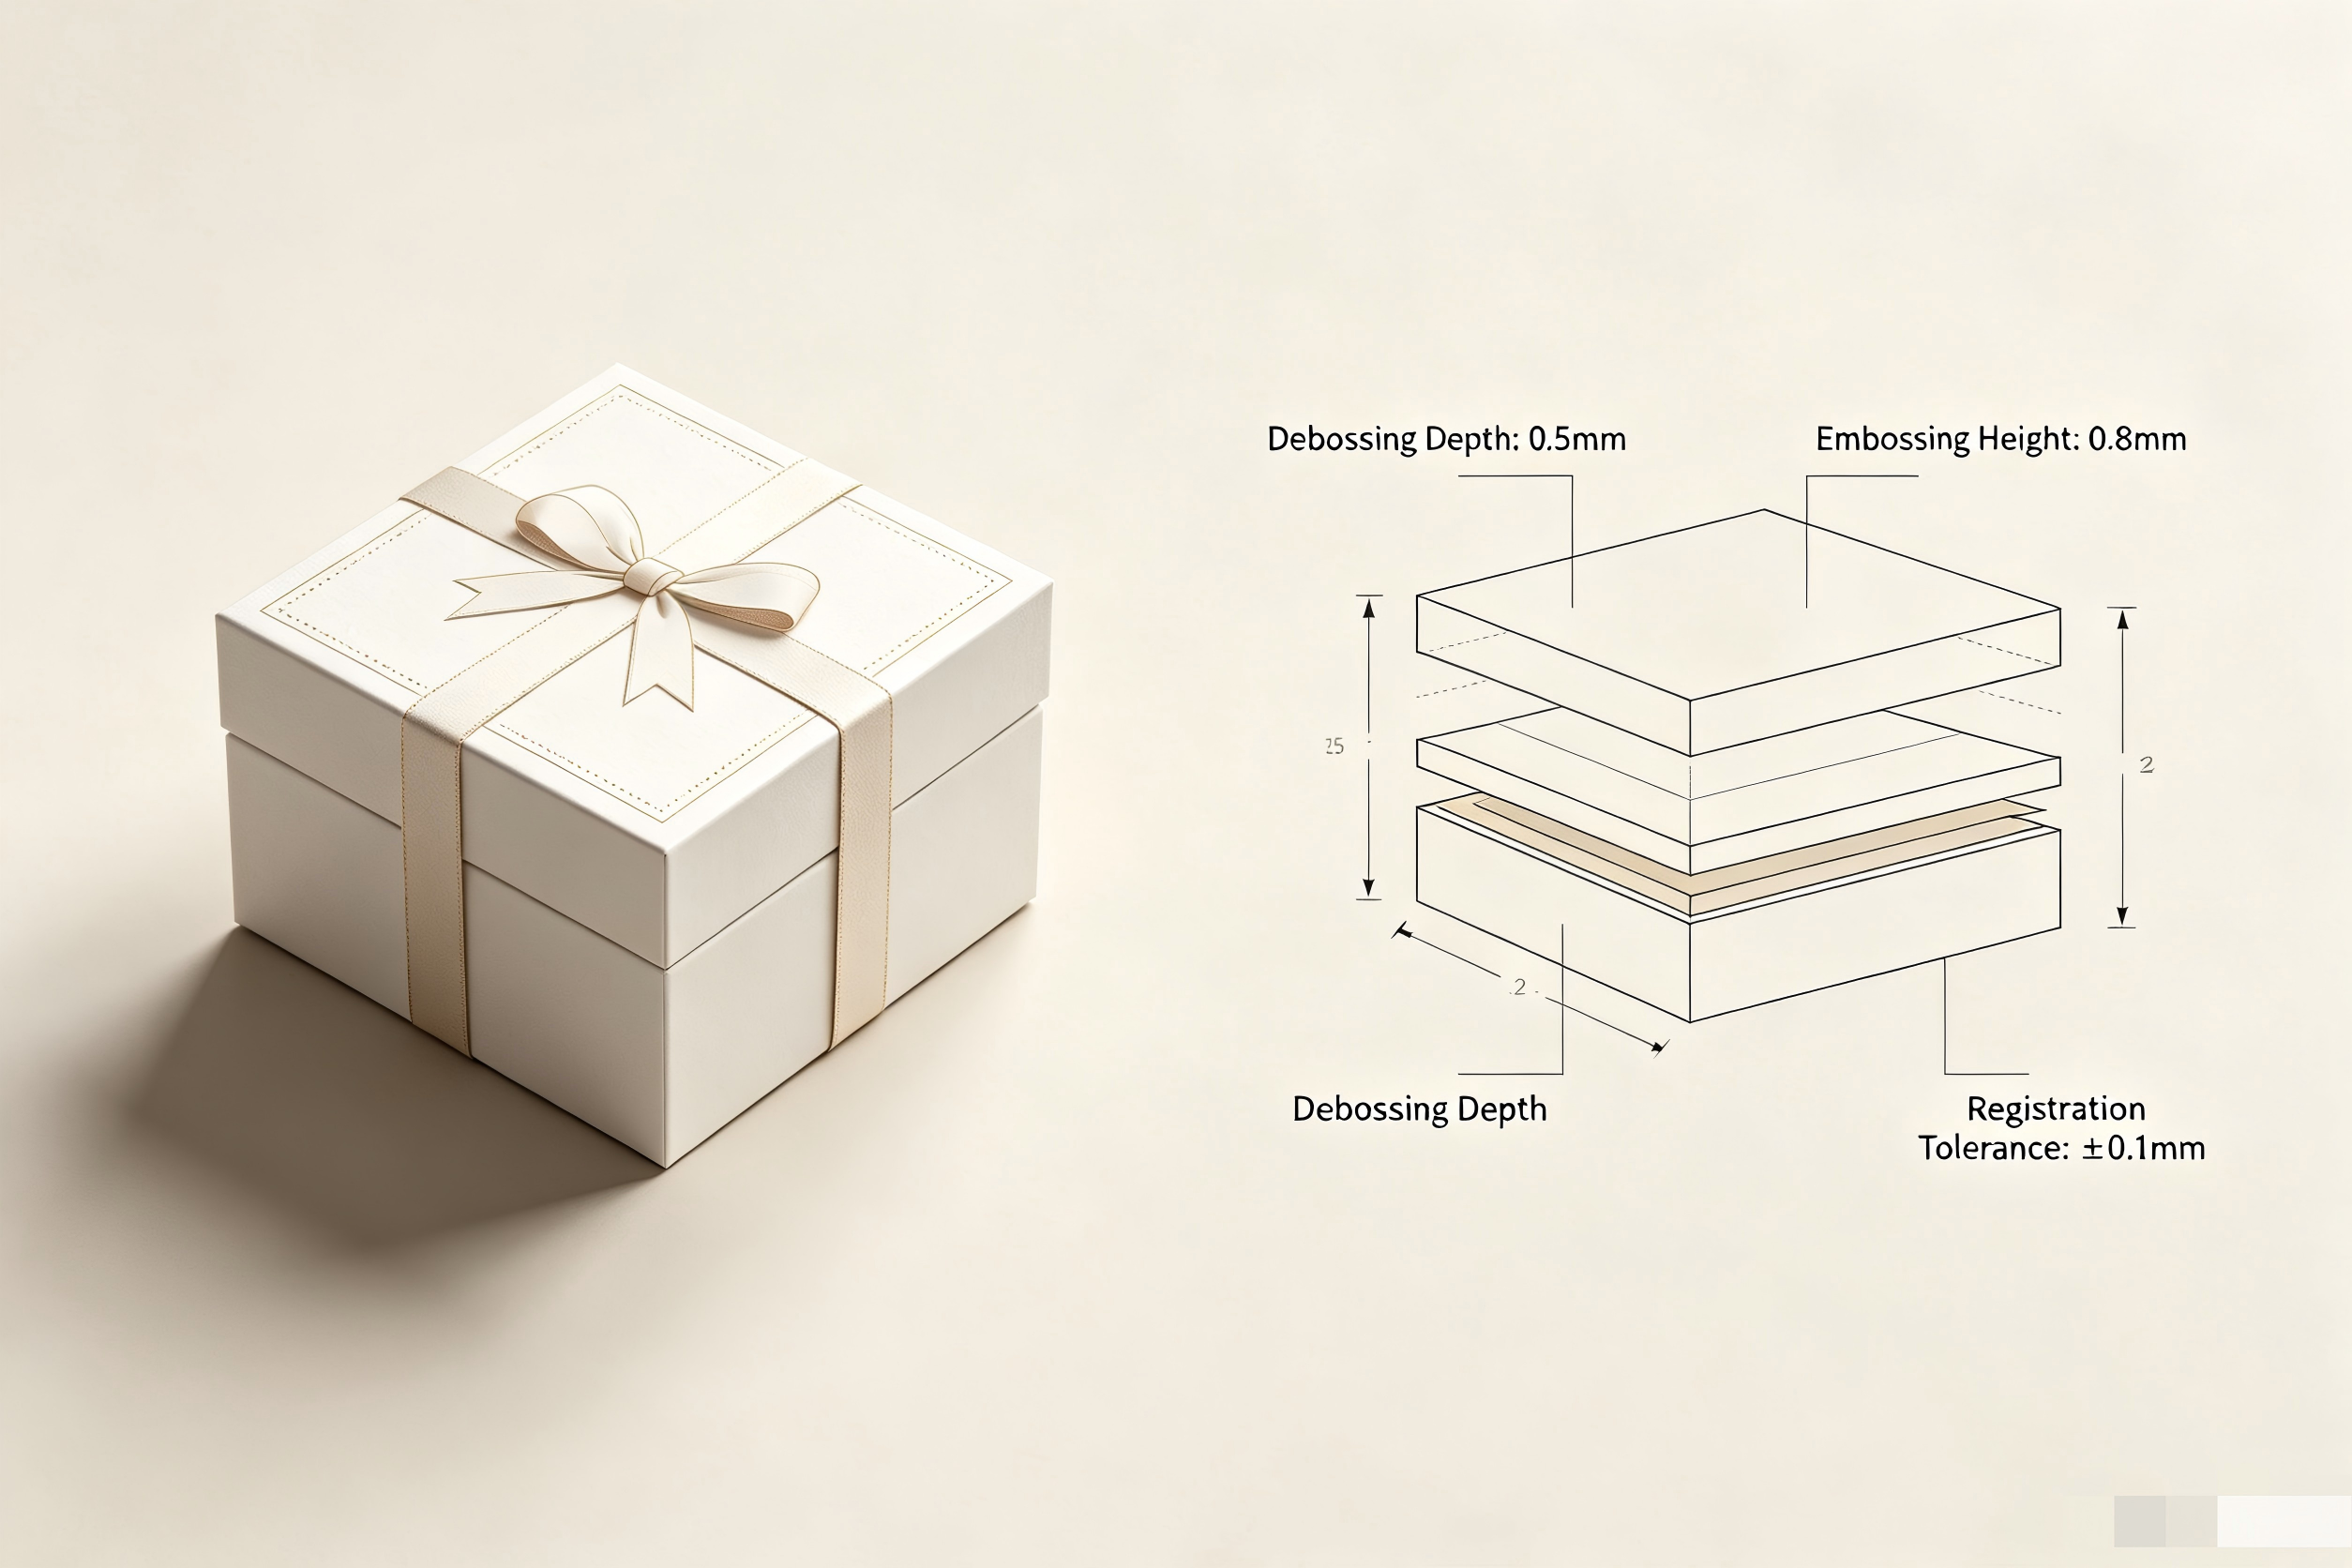
(Image Suggestion: A beautifully laid-out gift box spread, with a perfect debossing + embossing finished product on the left, and a cross-sectional schematic on the right clearly showing debossing depth, embossing height, and their registration relationship, with key dimensions labeled.)
Many designers love using debossing and embossing to enhance the tactile feel and dimensionality of packaging, but when sent to the printer, the final product falls far short—blurry textures, rough edges, or even a complete mess.
Often, the problem starts at the source: the design file.
We reviewed a case where the edges of debossing and embossing on a high-end gift box were perfectly aligned with no allowance whatsoever. When run on the press, the natural stretching and compression of the paper under pressure led to a 20% plate smudge rate, resulting in the entire batch being scrapped. The lesson: Premium quality starts with design file specifications precise to 0.1mm.
Core Parameters: Not Mysticism, But Physics
- Depth/Height: Debossing depth is recommended to be 0.5-0.8mm, while embossing height should be 0.3-0.5mm. Too shallow and the effect is unnoticeable; too deep and the paper is prone to tearing.
- Registration Accuracy: The alignment error between their center positions must be ≤0.15mm. Exceed this, and the dimensional layering falls apart.
- Critical Clearance: In the design file, the debossed area must be at least 0.3mm larger than the embossed area. This serves as a "safety buffer" for paper compression and machine fine-tuning.
The Right Approach in Design Software
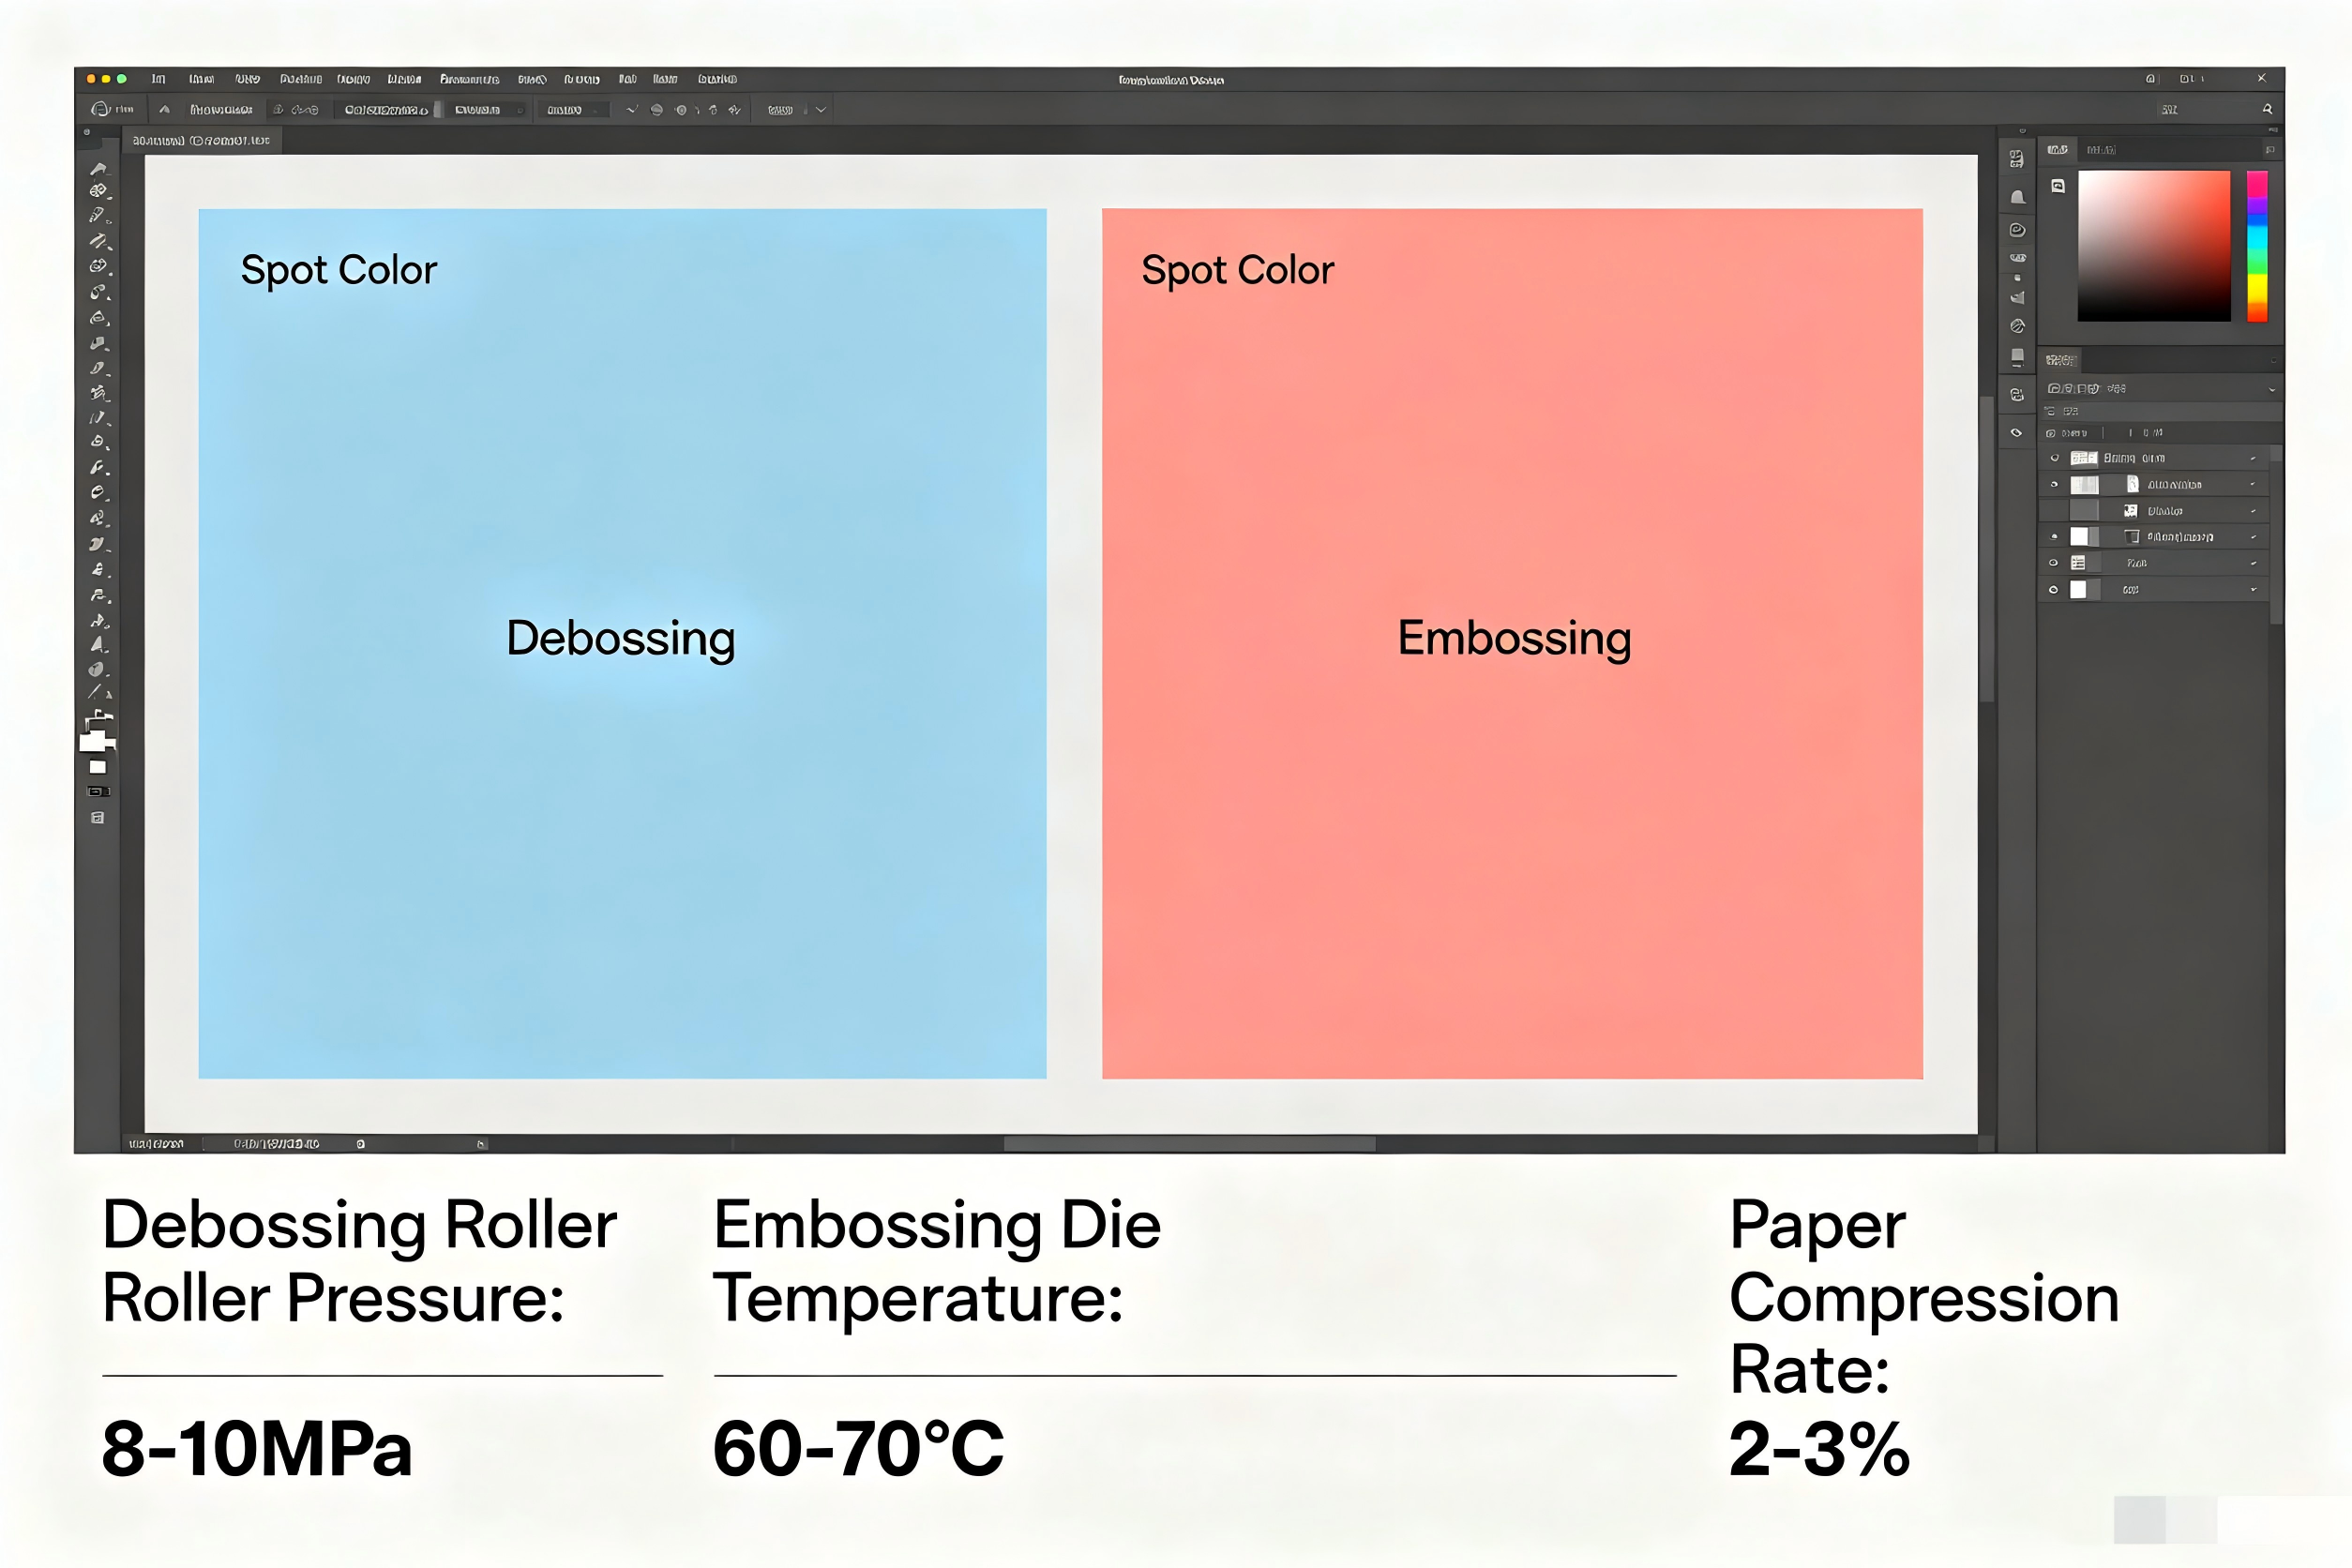
Don’t stack all effects on a single layer. In AI or CDR, be sure to create separate spot color layers for debossing and embossing, clearly distinguishing them with different colors (e.g., light blue for debossing, light red for embossing). This greatly reduces misunderstandings during later plate-making communications.
The "Hard" Logic Behind the Process
These parameters aren’t arbitrary:
- Debossing Roller Pressure is typically 8-10MPa to create clear, long-lasting textures.
- Embossing Die Temperature is controlled at 60-70℃ to help shape full, rounded raised features.
- The most commonly overlooked Paper Compression Rate: When pressed, the paper’s area will slightly increase (by approximately 2-3%). If this isn’t considered during design, the finished embossing may be "squeezed" outside the intended area.
One-Sentence Takeaway: To achieve a tangible premium finish, start with a standardized design file that leaves room for process tolerances. Turn physical limitations into design advantages.